PBR – Is a method of shading and rendering that gives a more accurate representation of how light interacts with surfaces
metalness maps – used to define wither the material is a metal, insulator or a gloss
roughness map – determines the value of the mirror reflection
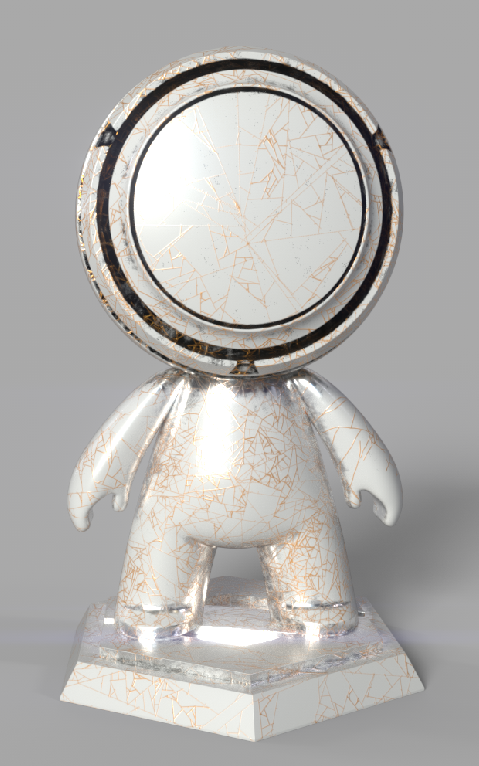
Here is my MeetMat, my first creation in Substance Painter which is a work in progress. most of the time while i was using Substance Painter i was mainly messing around with the program, using all of its materials and participial effects, i was mainly messing with white, black and gold colours because i felt like that combination of colours would be appealing.
Here is a clip of the early development of my 3D game. in the clip it shows some animations that i have made for my game, these animations are very simple but a very good way to start it of and get use to it.
here is a display of the tabs i was working with to make my animations successful and linked together.
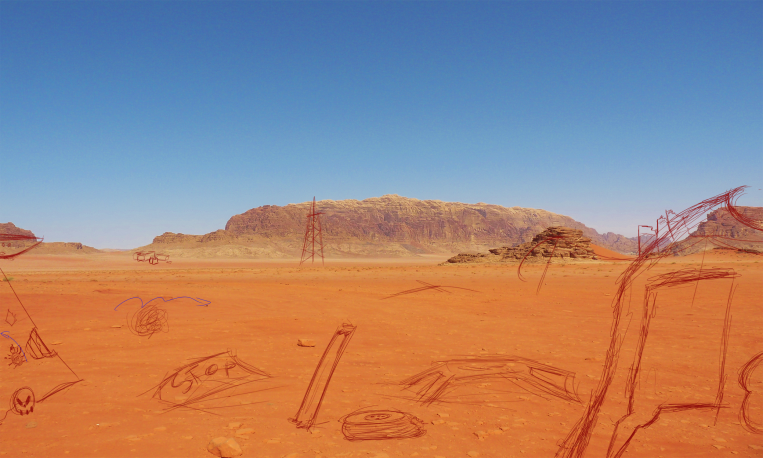
today we started a new project called ‘imagined worlds’. I have made a good start, by planning out where I am going to put my over-laying images. I should be able to make a better start, than if I had not planned, and will continue to progress with the project.
Finished product
here is my finished product for my project. i have really enjoyed making this scenery in Photoshop and exporting the whole thing over to After effects however i did run into a few problems with the items in the scenery due to me having all of the items in a folder to keep my layer nice and clean it caused me some problems in after affects so i had to go back and separate the items in the folder. once i did that i was able to place the items properly, but before i started to do that i made all the image planes into 3d ones to give the scenery a sense of depth to it. once i fitted the scenery together i imported all of the green screen capture i got with my friends i was working with (Matthew.K,Jake.W). once i was able to key out the green screens i was able to duplicate it and flip them upside down and change the colour to black and lower the opacity to give them all a shadow. over all i have enjoyed working on this project and learning the workflows to this project and also learning more about the programs Photoshop and After effects.
for this project i am working with Jake Williams and Matthew Keily. the environment we have decided to remaster is the old chateau from Pokemon, the room we decided to recreate is the big dining hall with the kitchen and the storage room as well.
29/03/2019
our team have been discussing about various parts of our project our main talks have been how we can better our assets and how our assets will come together to make up big chunks of our environment together.
Final Product
Here is our final product for our project. we decided to spilt up the rooms so each one of us will have a dedicated part of the room to work on ( i got the storage room, Jake got the kitchen and Matthew got the dinning room) once i was finished with making all of the models and texturing them for the storage room i decided to help Jake with his models by texturing some of his while he was the one setting up the whole unity project and sorting out the layout for the house and importing all of our assets into the scenery.
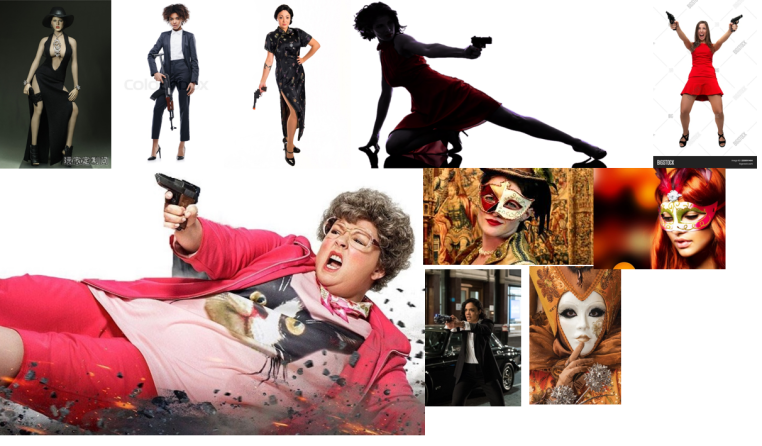
Here is my mood board for my ideas for my spy character.
here is where i got most of my ideas for my spy like what personality they will have, how they will dress or how they work.
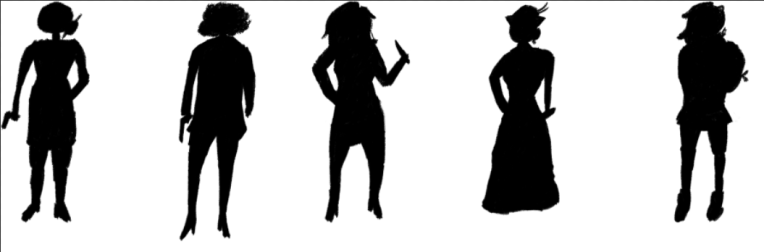
from my mood board i then went onto designing silhouettes of various spies
for some reason i found it hard to draw these silhouettes, i mainly think it was because i couldn’t go into much detail and i couldn’t get the postures and actions right on the silhouettes making them look a bit of.
from my silhouettes i then went onto making my detailed designs of various spies here are 3 designs that i made for 3 different spies, my most favorite spy would be the one on the left because i just over all really like her design overall probably because i took the longest making this one.
i soon then decided to colour in my most favourite one here it is.
i still need to finish of her bag design but i was able to finish of her design and i can say its one of my most proudest art pieces i have made.
here is a standard walk reference for animation with grids to help make things more accurate for animation. its also good to start of looking at real life walking because it will make your animation look more realistic when it comes to animating it.
here is an animation walk cycle, i feel like animation walk cycles are way more lively than real life walking because it gives the character a lot more character to them. by looking at an others animation it will help you get ideas and also to remember to make it exaggerated
here is my walk animation cycle so far, while animating this i have learned that there is a lot more to it than i thought, because you have to be constantly moving or readjusting things constantly to make it look organic and not robotic so it will have personality and look like a human walking.
here is an updated version of my previous walk
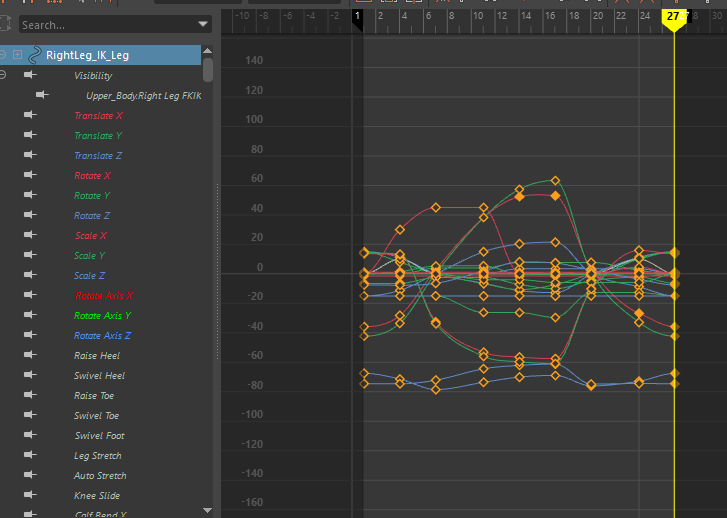
with this walk i extended the duration of the walk to make it slower and last longer so you can actually see it on a play blast. after finishing my key poses i then went onto making things look more smoother to make it look more human and less robotic, the way i did this was with the graph editor.
peer review
assessor name: Henry Watt
assessor feedback:
Overall the walk cycle is very clean and very smooth, however there is a lack of arm swaying and a lack of shoulder movement. To improve you could also attempt to try and light the scene. You could also attempt to add hand and finger movements, to try and give the animation a little more character. Adding a little bit of a head sway to match the subtle bouncing could also help make the animation look more complete.
here is my character design ( turn around sheet ) for my animation project, my character is fully designed. however when it comes to animation i feel like taking a Rayman style at animation because i feel like it would be easier to model, rig and animate which would save me more time to focus on animating the character.
22/03/2019
here is a quick update for my character design so far, i am happy with my process so far i never imagined that my 3d modelling skills would be this good already as i am impressed with the body of my character all ready and how smooth it looks but it needs more work to it to make it look more like a jumper so i need to add stuff like more folds to the model.i also need to make more progress in the head, so ill work on its face first so i can get the eyes and mouth right then ill move on to the hair of the character last. once that is finished ill then move onto UV unwrapping my model the right way then ill move onto texturing the character to the best of my abilities and hopefully ill have this all done by next week preferably.
26/04/2019
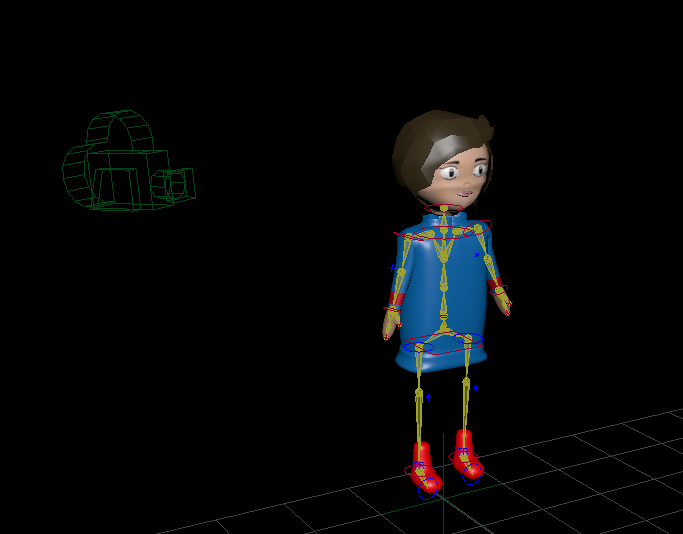
here is a quick update on my animation process. i have fully textured my model with substance painter, which was fun but a bit challenging to deal with. i have also fully rigged my model with a skeleton and also a bit of hierarchy ( on the feet ). i faced a few problems when it came to rigging this model because i couldn’t paint to weight right at first because once i changed one joint another would also change its painted proportion of weight to it, which left me constantly changing the wights on each joint to get it the way i want it.
03/05/2019
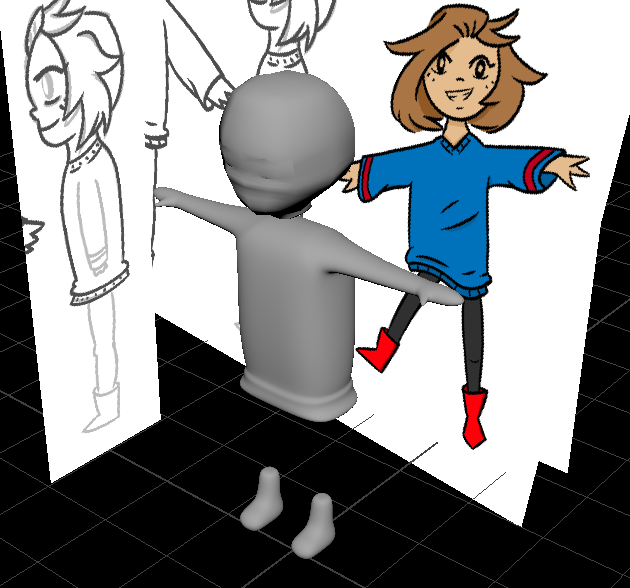
here is my progress so far for my animation project. i have started to block out the animation to try and make everything seem to be timed right. i am doing this by using the step preview option to block everything out piece by piece.
10/05/2019
my animation is coming on really well i have already pieced everything together and now i am going over it all to piece things together and start animating in more detail such as her feet and hands and even the way the bubble move about.
17/05/2019
here is an update to my almost finished animation i just need to fix and sort some things out before it will be ready for rendering. i plan on making the bubbles more bouncy and lively and i also plan on making some of the animations more sooth so the animation will play very smoothly and i plan on doing this with the graph editor so i can pin point what parts i want to smooth out with ease.
Final Product
here is my final product for my animation idea, i have come a long way through the whole work flow to come to this point to be fully finished with my own animation creation. from the concept art to the 3d development to the animation process i have learned so much from doing all of this, and i have very much enjoyed going through the whole work flow process to help me understand how these animations are made by industries to produce fully fleshed out movies.
for this project i have my mind on some ideas of how i want my chest to look like and linked to a theme.
here is my mood board for this project, while gathering the images i wanted to get a wide range of different themed chests to give me more inspiration and ideas of what i would like to have on my chest when it comes to making it.
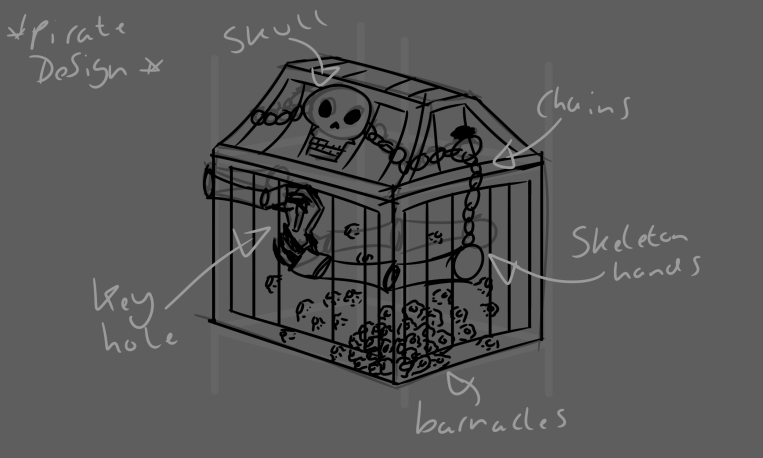
here is my first design i have came up with. for this design i have decided that i wanted it to be a pirate themed chest, with it being a pirate themed chest i thought i would give me a lot of different design ideas which ended up being the movable skeleton hands on the side of the chest. then decided to add a skull on top of the chest and i am planning on making the skeleton talk if anyone comes near it. i also decided to add more details like the barnacles and the chains on the chest just to make it look more better and less boring to look at.
here is another concept sketch that i did, based on a different theme than my first concept sketch.
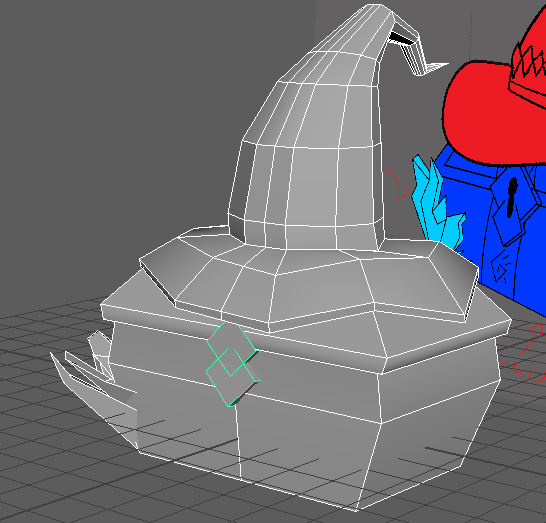
here is my progress so far for my box project. i decided to go with my second idea because i felt like i could do a lot with this idea than my first one.
the thing i need to work on at the moment with this idea is the crystals i don’t feel like that look good enough so i will be refining them later on as well as the hat, i want to make it more smoother and add folds into the hat as well.
design feed back:
good design idea really shown through the concept art.
should block out more parts of the box
1/03/2019
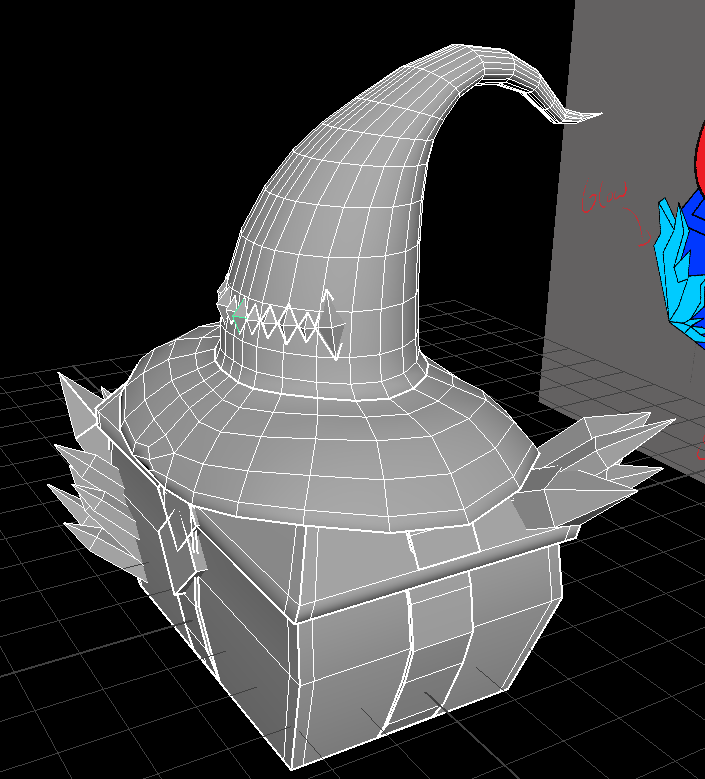
here is my box model so far, for my project. the only main problem i have ran into while modelling this is the sorting its UV out. while doing the UV i ended up with loads of pieces and there was no room for them to all fit onto the single plain so i went back and UV unwrapped one crystal and just duplicated that so i wouldn’t end up with loads of UVs to sort out and to just give me more room to fit all my UV in.

 here are 3 designs that i made for 3 different spies, my most favorite spy would be the one on the left because i just over all really like her design overall probably because i took the longest making this one.